 Save to Pinterest
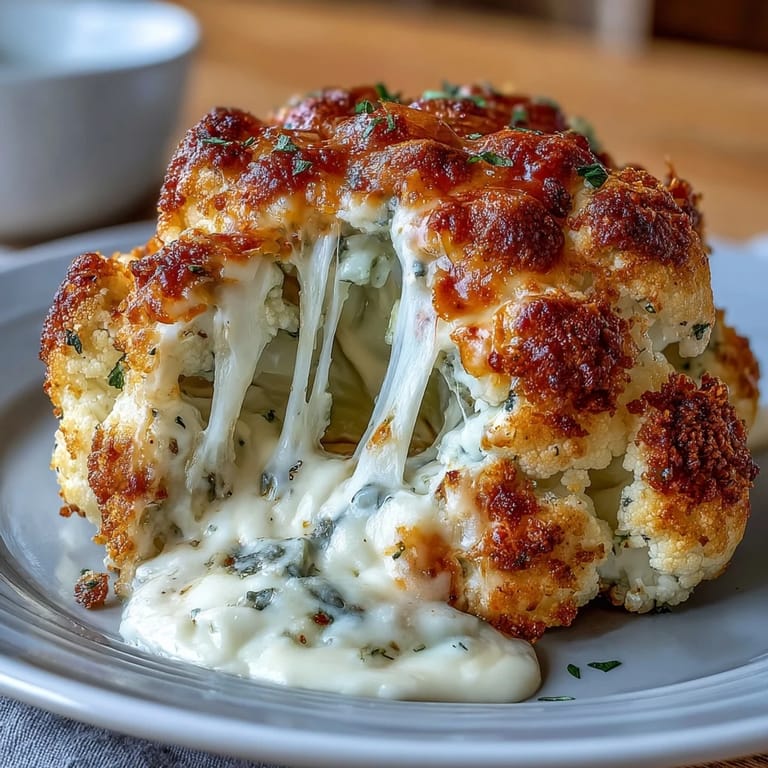
 I was honestly skeptical the first time someone suggested roasting a whole cauliflower head stuffed with cheese—it sounded like one of those dinner party moves that looked impressive but tasted like nothing. Then I actually tried it at a friend's kitchen table on a rainy Tuesday, and the way that golden, bubbling cheese oozed out when she cut into it changed my mind completely. Now I make this whenever I want to feel like I'm doing something fancy without the stress, because somehow a single vegetable becomes the most impressive thing on the table.
My partner watched me wrestle with a whole raw cauliflower for what felt like forever, trying to carve out pockets for the filling without snapping florets off, and instead of helping he just laughed and brought me a glass of wine. By the time it came out of the oven, golden and fragrant with roasted garlic and cheese, he admitted he'd been genuinely curious about whether it would actually work. We split it into wedges right there, and the creamy center contrasting with the crispy top felt like a little victory.
Ingredients
- 1 large whole cauliflower (about 1 kg), leaves and stem trimmed but intact: This is your canvas—look for one that's dense and compact, not loose or spotted, because you'll want it to hold together during cooking and slicing.
- 1 tbsp olive oil: Just enough to coat the outside and help it brown evenly in the oven.
- ½ tsp salt and ¼ tsp black pepper: Season the cauliflower itself, not just the filling, so every bite has depth.
- 150 g cream cheese, softened: The foundation of your filling—let it sit on the counter for a bit so it blends smoothly without lumps.
- 100 g shredded mozzarella and 50 g grated Parmesan: Mozzarella gives you that stretch and melt, while Parmesan adds the salty, sharp note that makes people ask what's in it.
- 2 tbsp chopped fresh chives and 1 garlic clove, minced: These bring brightness and prevent the filling from tasting heavy and one-dimensional.
- ½ tsp smoked paprika and ¼ tsp ground nutmeg: Smoked paprika whispers depth, and nutmeg—yes, really—adds a subtle warmth that ties the whole thing together.
- 1 tbsp milk: Loosens the mixture so it spreads into all those crevices without tearing the delicate cauliflower.
- 50 g shredded cheddar and 2 tbsp breadcrumbs: Your golden topping—the cheddar gives color and sharpness, breadcrumbs add crunch.
- 1 tbsp melted butter: This binds the topping and helps it toast to that perfect burnished finish.
Tired of Takeout? 🥡
Get 10 meals you can make faster than delivery arrives. Seriously.
One email. No spam. Unsubscribe anytime.
Instructions
- Heat your oven and prep your workspace:
- Get the oven to 200°C (400°F) and line a baking tray with parchment paper so nothing sticks and cleanup is minimal.
- Trim the cauliflower carefully:
- Remove the outer leaves and trim the base so it sits flat and stable—you want those florets intact and proud, not chopped to pieces. This takes patience, but it's worth it.
- Parboil the cauliflower:
- Boil it for 8–10 minutes in salted water until it's just tender enough to pierce with a knife but still holds its shape. You're softening it so the cheese can sink in, not turning it to mush.
- Make the filling:
- Mix the cream cheese, mozzarella, Parmesan, chives, garlic, paprika, nutmeg, and milk until smooth and creamy. Taste it—it should make you want to dip a spoon in it.
- Carve pockets for the cheese:
- Once the cauliflower has cooled slightly, use a sharp small knife to make deep cuts between florets and into the base, creating channels where the filling can nestle. Don't go crazy and break it apart, just create intentional spaces.
- Stuff it generously:
- Spoon and press the cheese mixture into every gap, getting it deep into the center and between the florets. Use your fingers if the spoon isn't cutting it—there's no wrong way here, just make sure it's snug.
- Season and brush:
- Coat the whole head with olive oil, salt, and pepper so it browns beautifully and tastes seasoned throughout.
- Add the topping:
- Toss the cheddar with breadcrumbs and melted butter, then scatter it all over the cauliflower—this becomes your golden, crunchy crown.
- Roast until golden:
- Bake for 40–45 minutes, watching until the top is deep golden and you can see cheese bubbling at the edges. The cauliflower should be tender when you pierce it with a knife.
- Rest and serve:
- Let it sit for 5 minutes so the cheese sets slightly and the whole thing holds together when you slice it into wedges.
 Save to Pinterest
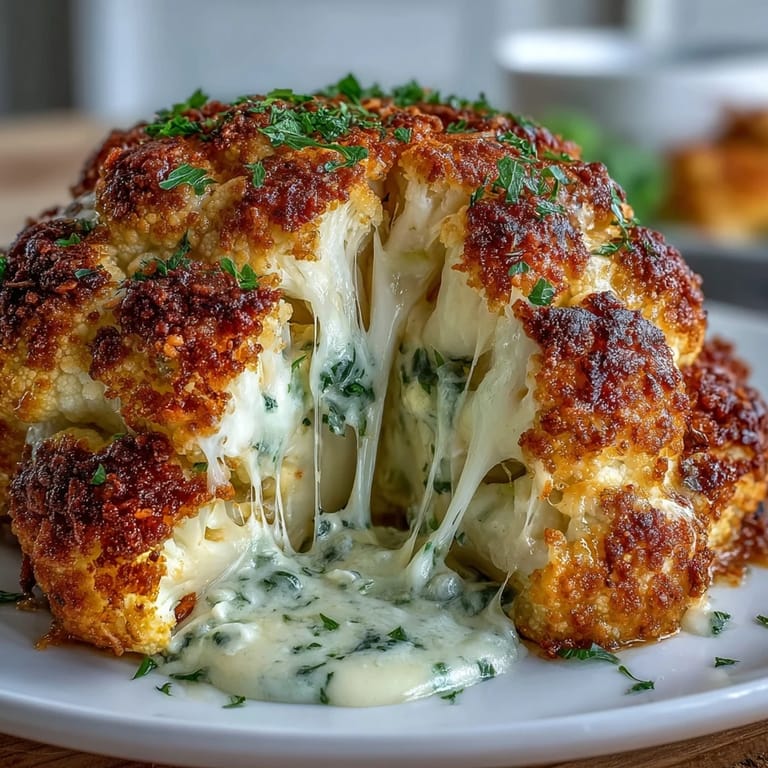
 There's something almost ceremonial about bringing a whole roasted cauliflower to the table, watching people's faces as they realize it's actually one vegetable and not some clever vegetable stack. That moment of surprise, followed by the quiet satisfaction of cutting into it and finding that creamy, cheesy center, is worth every minute of preparation.
Customizing Your Filling
The beauty of this dish is how flexible the cheese mixture actually is—I've thrown in sun-dried tomatoes, sautéed mushrooms, caramelized onions, and even crispy bacon without anything falling apart. The base of cream cheese, mozzarella, and Parmesan stays the same, so the structure holds, but what you add is entirely up to what's in your fridge or what you're craving that day. Start with the recipe as written, then once you've made it once and felt confident, that's when you start experimenting.
Why This Works as a Main Course
I used to think vegetarian mains needed to be complicated to feel substantial, but a whole roasted cauliflower with a creamy filling somehow hits all the marks—it's visually striking, texturally interesting, and rich enough from the cheese that nobody's missing meat. Serve it with a crisp green salad or some roasted vegetables, and suddenly you have an actual dinner that feels complete.
Storage and Make-Ahead Tips
You can stuff the cauliflower a few hours ahead and keep it covered in the fridge before roasting, which takes the stress out of timing on a busy night. The filling also tastes just fine at room temperature the next day, though reheating gently in the oven brings back that creamy texture better than the microwave ever could.
- Refrigerate leftovers in an airtight container for up to 3 days.
- Reheat gently at 160°C (320°F) with a splash of milk if the filling has dried out.
- Leftovers are delicious cold the next day with a salad, or even chopped up and mixed into eggs for breakfast.
 Save to Pinterest
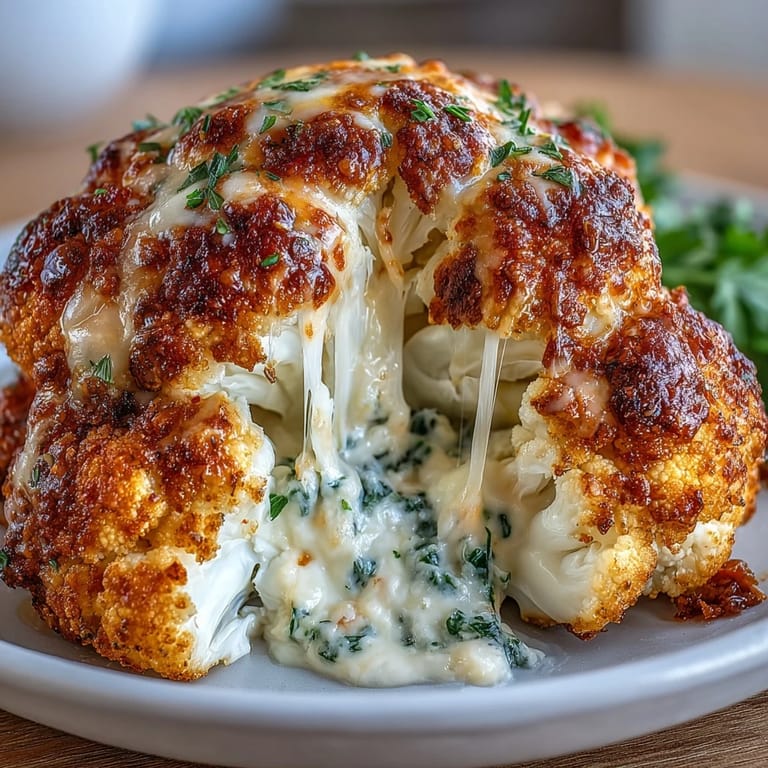
 This dish proves that sometimes the simplest ideas—roast a vegetable, stuff it with cheese, serve it—become the most memorable meals. Make it once, and I guarantee it'll be back on your table before you know it.
Recipe FAQ
- → Can I prepare this stuffed cauliflower ahead of time?
Yes, you can prepare the cauliflower up to the stuffing stage a day in advance. Keep it refrigerated, then add the breadcrumb topping just before baking. You may need to add a few extra minutes to the cooking time if baking from cold.
- → What other cheeses work well in the filling?
The filling is quite versatile. Gruyère adds a wonderful nutty flavor, while fontmel provides excellent melting properties. For a sharper taste, try adding some aged cheddar or a bit of blue cheese. Just maintain the same total cheese quantity for the best consistency.
- → How do I know when the cauliflower is properly cooked?
The cauliflower is done when it's deeply golden on top, the cheese is bubbling, and a knife inserted into the center meets no resistance. The florets should be tender but not mushy. A meat thermometer inserted into the center should read around 190°F (88°C).
- → Can I make this dish dairy-free?
You can substitute the dairy cheeses with vegan alternatives, though the texture and melting properties may vary slightly. Use vegan cream cheese and shredded vegan cheese blends. Nutritional yeast can help add the savory, cheesy flavor that Parmesan typically provides.
- → What should I serve with this stuffed cauliflower?
This makes an excellent vegetarian main dish served with a crisp green salad dressed with light vinaigrette. As a side, it pairs beautifully with roasted potatoes, grilled vegetables, or a simple quinoa pilaf. The richness also balances well with acidic elements like pickled vegetables or a fresh tomato salad.
- → Why is my cauliflower not getting golden brown?
If the cauliflower isn't browning, your oven temperature might be running low. You can turn on the broiler for the last 2-3 minutes to achieve that golden crust, but watch carefully to prevent burning. Also ensure the breadcrumb topping is evenly distributed and well-coated with butter.